Winter is coming and it’s time to tune up your snow blower.
Reviving your old snow blower from its summer hibernation is often bittersweet. If you get to the task early enough it means that you are prepared for Mother Nature to shower you with winter. On the other hand it means that not only is summer over, but that fall is on its way out too. Of course each machine is different and will have different parts, but I will stick to some common elements so we don’t get off track. Let me walk you through a few simple steps to make sure your snow eater is ready for action this year.
Safety first! Remove the safety key to ensure there are no accidental start-ups while you’re working on the machine. Put any and all safety measures into effect to avoid catastrophe. Next is a visual check. Quickly inspect your blower to make sure nothing is out of place. You don’t want to start it up only to find out that there’s a cat hiding in the auger, or that the wheels are about to fall off. Give it a solid once over to make sure everything is where it should be; double check pins and bolts, and move onto the belts. The drive belts are typically hidden under a cover that will be held in place with a few screws or bolts. It’s often located between the engine and the chute. Once the cover is off, continue your visual inspection to make sure your belts aren’t stuck, cracked, blown right off etc. Once satisfied, replace the cover and move on.

Now that we know your machine won’t fall apart after starting it up, check your gas and oil. Both should be changed out each year. Gasoline has a shelf life of about three months before it starts to get gummy, and this can cause issues with your carburetor. Drain any and all gas you may have left in the tank, and drain it from the carburetor if you can as well. At this point I always put a little SeaFoam into the tank before adding the fresh gas. Check the level and colour of your oil (likely very dark). If the level is safe to start, you can give it a whirl. Prime it, choke it, start it.
You want the engine warm to change the oil (not hot). Once it has run for about a minute or two, shut it off and change the oil. There is a drain plug of some sort located at the bottom of the engine. Open it to drain into a safe container. Once it begins to drain you can open the oil cap on top to make the process faster. After it stops flowing I always add a small amount of fresh oil with the drain open to help flush out the grime. Then close the drain and add the recommended oil necessary. Once it’s filled to the desired amount, slowly pull the starter cord to move the cylinders so they don’t start dry.
9 times out of 10 that’s all you need to do to the engine and you’re good to go. However if you’re feeling handy it doesn’t hurt to give the spark plug and the carburetor a quick clean. In my experience they tend to be the problem if you are having issues getting the snow blower started. You can use Carb Cleaner on both as it will dissolve carbon buildup and get the gummy gas residue out of your carb jets.
Finally give the blower the means to run smoothly. I’m talking lubrication. Grease the auger (and wheels if necessary), lubricate the chute so it can move freely, and don’t neglect the lines that change your speed, chute movement, etc. There’s no point in getting everything else ready to go only to find out that your snow blower is limited to the slow position and only throws snow to one side.

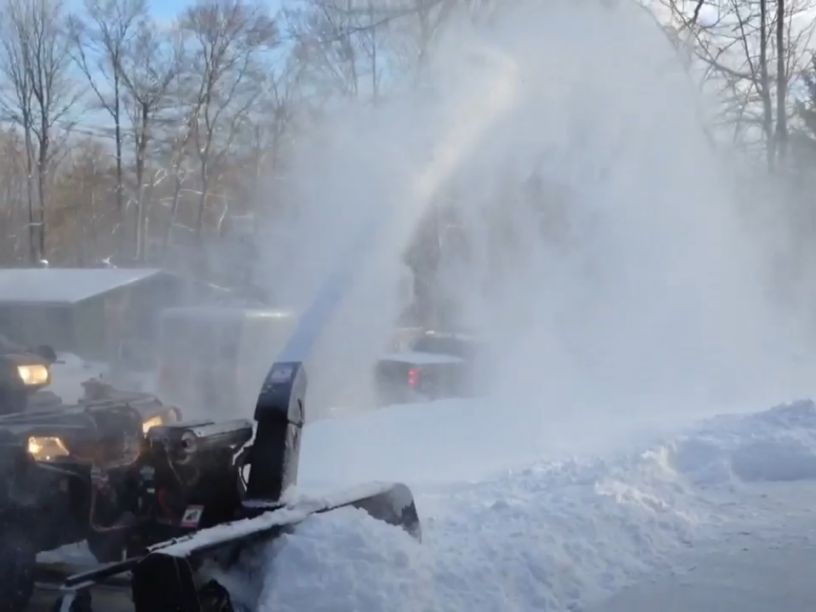
That’s it, you’re ready for war. Just remember that if you need backup this year, you can always get in touch with Harbourview Property Management. You’re busy. Let us do the work! We manage, maintain and renovate. While you’re on vacation we can regularly inspect your property, keep your driveway clean, and get you set up with a new kitchen for your return!